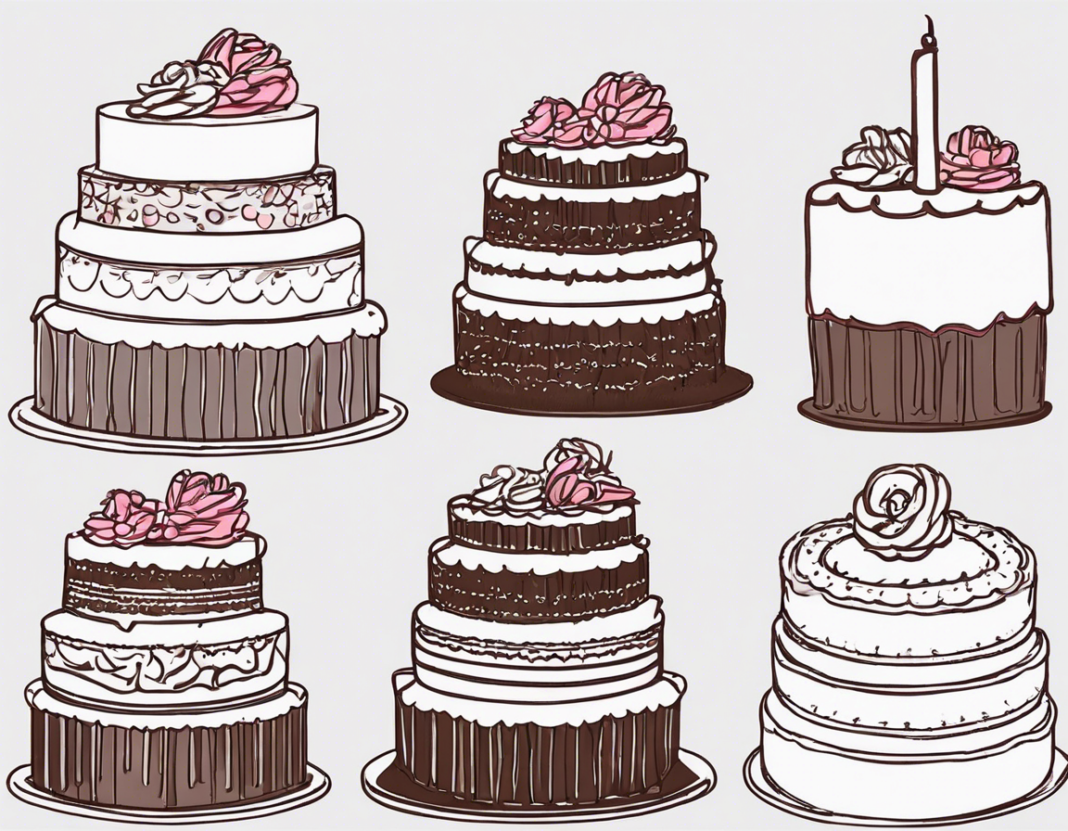
Drawing can be a relaxing and rewarding hobby, allowing you to express your creativity and bring your imagination to life. In this guide, we’ll walk you through the steps to draw a delicious cake. Whether you’re a beginner or an experienced artist looking to hone your skills, follow these steps to create a mouthwatering cake drawing that looks good enough to eat.
Supplies You Will Need:
Before you begin drawing, gather the following supplies:
- Pencil: Use a pencil for sketching the initial outline.
- Eraser: An eraser will help you correct any mistakes as you go along.
- Paper: Choose a smooth, sturdy paper that can handle multiple layers of shading.
- Colored Pencils or Markers: These will add depth and realism to your drawing.
- Reference Image: For inspiration and guidance, have a picture of a cake handy.
Step 1: Sketch the Basic Shape
Start by lightly sketching the basic shape of the cake. This can be a simple round or rectangular shape. Don’t worry about details at this stage; focus on getting the proportions right.
Step 2: Add Layers
Next, draw the layers of the cake. You can make it a single-layer cake or add multiple tiers for a more elaborate design. Make sure the layers are evenly spaced and sized.
Step 3: Detail the Frosting
Now, add details to the frosting. You can make it smooth or textured, using curved lines to show the contours of the frosting. Add swirls, rosettes, or other decorative elements to enhance the look of the cake.
Step 4: Draw Decorations
Get creative with the decorations! Add fruits, candles, sprinkles, or any other embellishments you like. These details will bring your cake drawing to life.
Step 5: Shade and Color
Use your colored pencils or markers to shade the cake and frosting. Add shadows to create depth and dimension. Pay attention to light sources to make your drawing look more realistic.
Step 6: Refine and Finalize
Once you’re happy with the shading and colors, go over your drawing to refine any details. Erase any remaining sketch lines and make any final adjustments to ensure your cake looks polished and complete.
Tips for Drawing a Realistic Cake:
- Study Texture: Pay attention to the texture of the cake and frosting to make your drawing more realistic.
- Play with Colors: Experiment with different color combinations to make your cake visually appealing.
- Practice Shading: Practice shading techniques to create depth and dimension in your drawing.
- Use Reference Images: Refer to photos of cakes to get inspiration for details and decorations.
- Have Fun: Drawing should be enjoyable, so don’t be afraid to get creative and put your own spin on your cake design.
Frequently Asked Questions (FAQs):
Q1: Can I draw a cake without colored pencils or markers?
A1: Yes, you can create a cake drawing using just a pencil for a monochromatic look. Focus on shading to add depth to your drawing.
Q2: How do I make my cake drawing look more realistic?
A2: Pay attention to details such as texture, shadows, and lighting. Study real cakes to understand how they appear in different lighting situations.
Q3: What if my cake drawing doesn’t turn out as expected?
A3: Don’t be discouraged! Drawing takes practice, so keep trying and experimenting with different techniques until you achieve the desired result.
Q4: Can I add a background to my cake drawing?
A4: Absolutely! Adding a simple background can enhance the overall composition of your drawing and make the cake stand out.
Q5: How long does it take to draw a cake?
A5: The time it takes to draw a cake can vary depending on your skill level and the level of detail you want to include. Start with a basic design and gradually work your way up to more complex cakes as you improve your skills.
Drawing a cake can be a fun and rewarding experience, allowing you to showcase your artistic talents and attention to detail. Follow these steps, tips, and FAQs to create a delectable cake drawing that will impress your friends and family. So, grab your supplies and get ready to create a masterpiece that looks good enough to eat!

